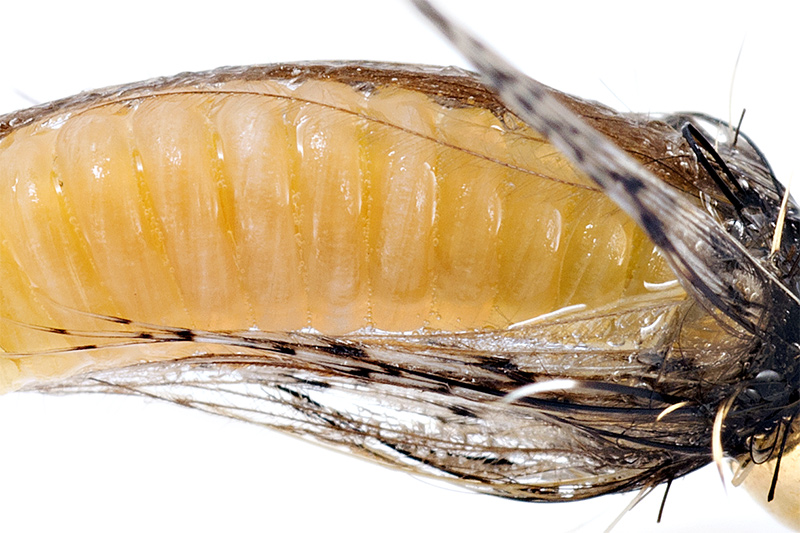
Catgut Biothread Pupa is one of the best fly when caddis flies are hatching. It is very easy and fun to make it, no need special skills and any beginner tier can tie this fly in 5-8min.
Caddis nymphs and pupa should be all the time in fisherman boxes. These flies are very efficient and productive because these insect are a good source of energy for fish due to sizes and qty of them. At the end of May until in the first part of August with a peak in July , these insects are all over the rivers from Europe and USA. You can find in waters under big rocks in huge numbers, close to river bank also on the gravel. For this reason you will find a lot of imitations from country to country and from region to region.
The version of pupa tied with catgut biothread is probably the best one because:
-has a realistic look
-very resistant at fish teeth
-easy to tie
-catgut biothread has a special property – translucency that no other material can imitate it
In the past, catgut was a secret material used in fishing competition by Polish fisherman and Czech fisherman. It was used the suture version ( made of natural collagen). Now this material is difficult to find. Troutline developed a special version of this material, special treated to be high resistant at solvents and at water and is called Troutline Catgut Biothread.
The material is available in different sizes, very thin to thick and is used not only for tying caddis flies but also for different bodies of nymphs. Catgut cannot be used for dry flies or emergers because this material soaks water and will sink the fly.
Another property consist in doubling the volume when soaks water. So when you tie with the material wet , when gets dry you will see spaces between ribbing. But soon you will put in water will soak and will look in the proper way.
Bellow I tied a few version of caddis pupa:
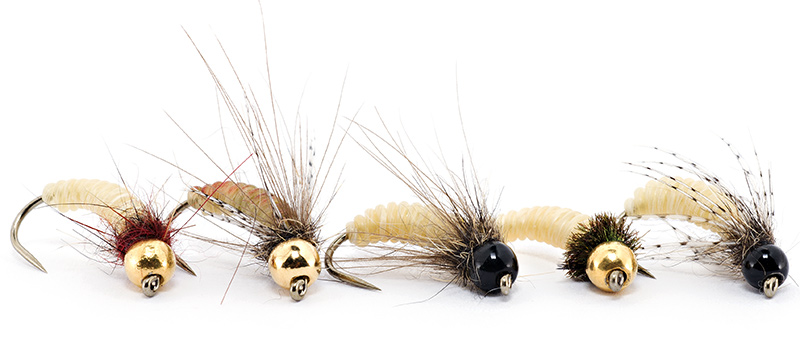
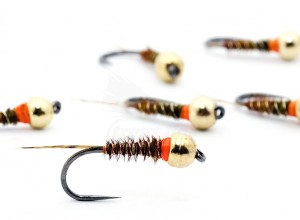
The following one is simple tied with catgut in natural color, size M on #12 hook:
Catgut and Partridge Pupa:
Recipe:
*Hook size #12
*Underbody thread:Troutline Yellow Caddis
*Body: Catgut Biothread – natural color size M
*Hackle: partridge grey neck feather in natural color
*Thorax: Mad Rabbit Dubbing – natural color
The most simple version ( used when these insects are not close to the emerging stage)
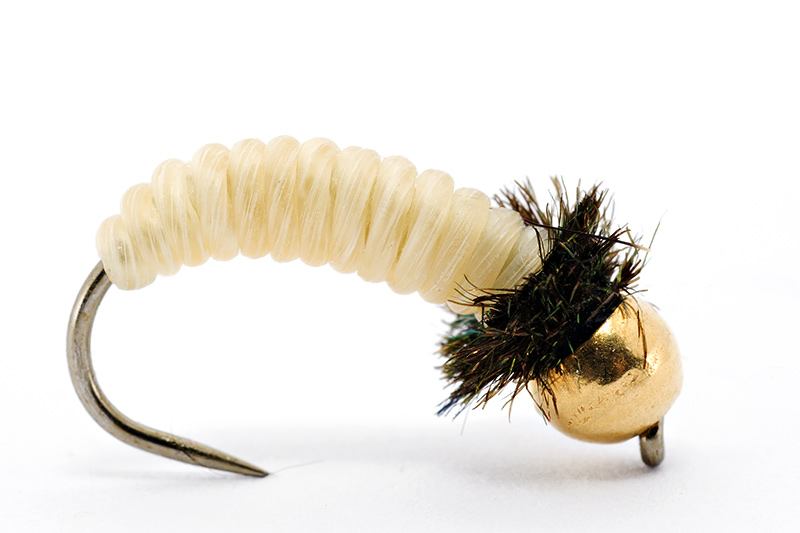
Catgut and Peacock Pupa:
Recipe:
*Hook size #12
*Underbody thread:Troutline Yellow Caddis
*Body: Catgut Biothread – natural color size M
*Thorax: Peacock herl
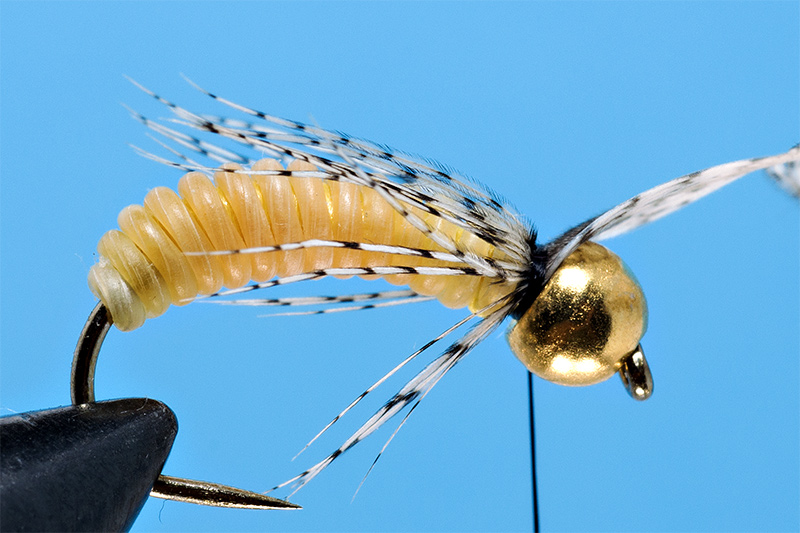
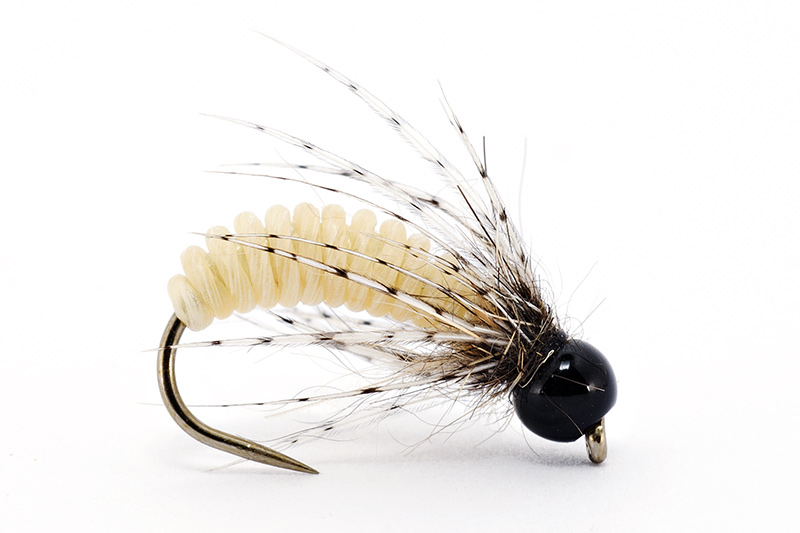
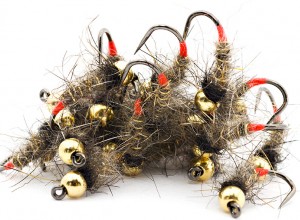
Another version that I like a lot and I use a lot is tied with CDC:
Catgut CDC and Partridge Pupa:
Recipe:
*Hook size #12
*Underbody thread:Troutline Yellow Caddis
*Body: Catgut Biothread – natural color size M
*Hackle: partridge grey neck feather in natural color
*Second Hackle: CDC natural black
*Thorax: Mad Rabbit Dubbing – natural color
A few words about the last version:
I like it due to special properties of CDC in water: translucency, movement, color and air bubbles caught by material when is wet. I noticed that is efficient in slow running waters and works very well even when the fly is almost stopped. So I prefer to use it in deep pools and jig it a little bit to induce the attack of the fish.
Lets start with the step by step:
First I soak the material in a glass with water for 3-5min until gets soft and transparent. Then I fix it using Troutline Yellow Caddis body thread
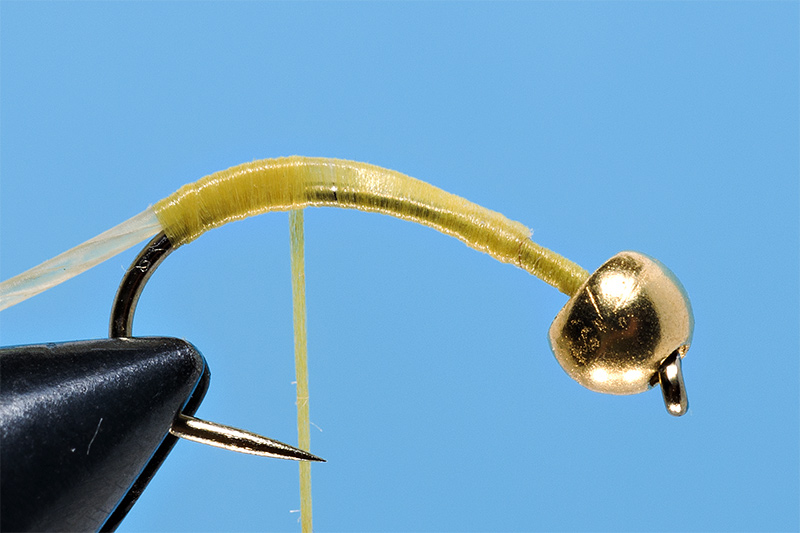
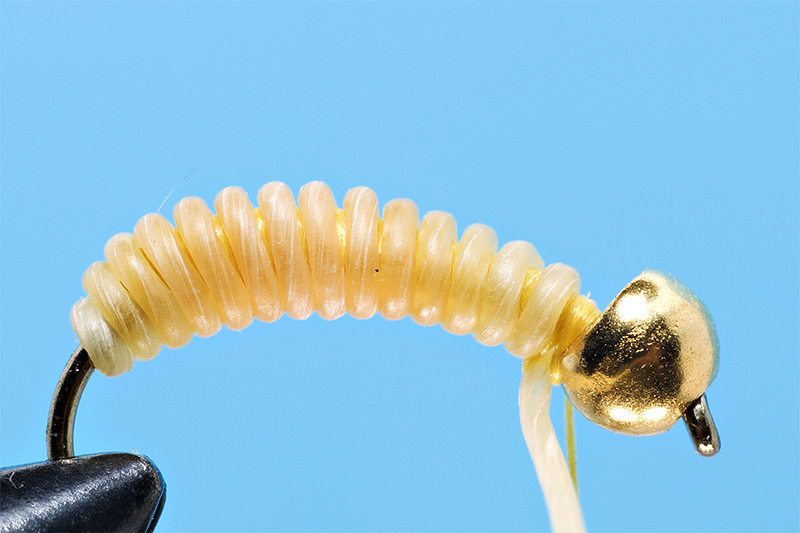
Then I make an underbody only with body thread in the shape of aubergine (eggplant). Then I cover it with the catgut like in photo. I leave enough space to fix the hackles and to make the thorax using dubbing
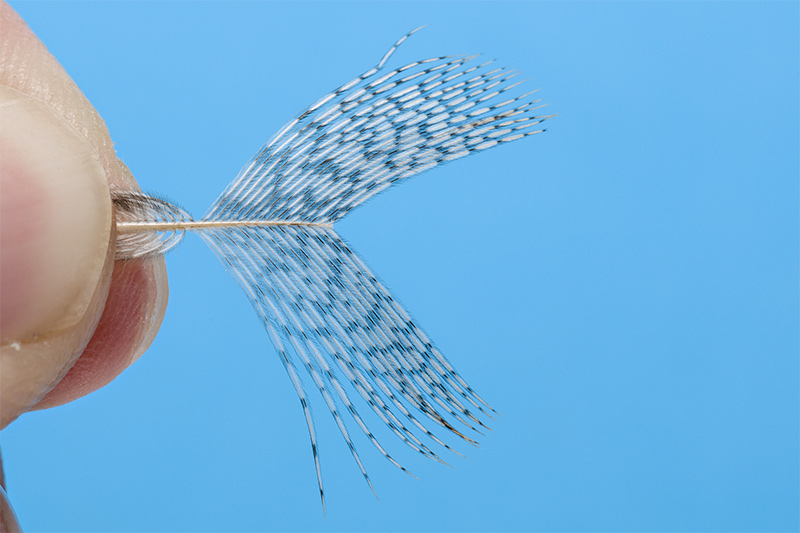
Then I fix the partridge feather and the CDC feather (from the tip)
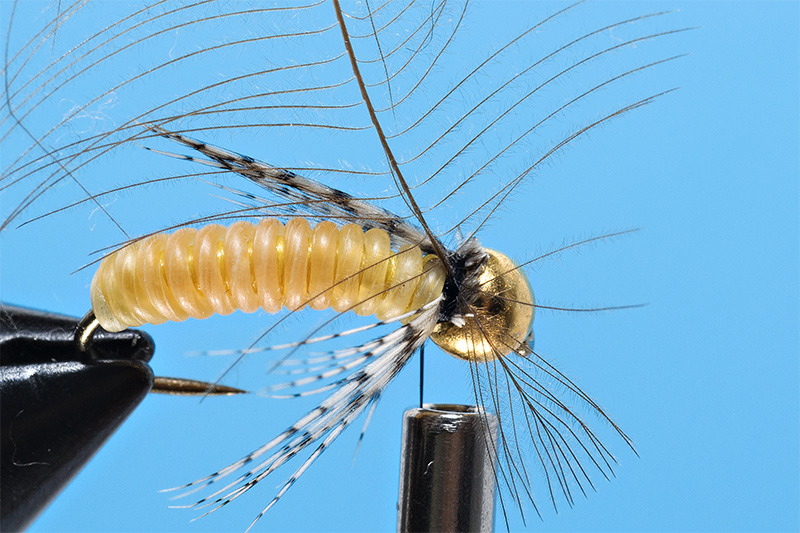
The final step is to make the thorak using mad rabbit dubbing. I prefer this material instead of others, I like how looks in water, the shades from black to spotted grey:
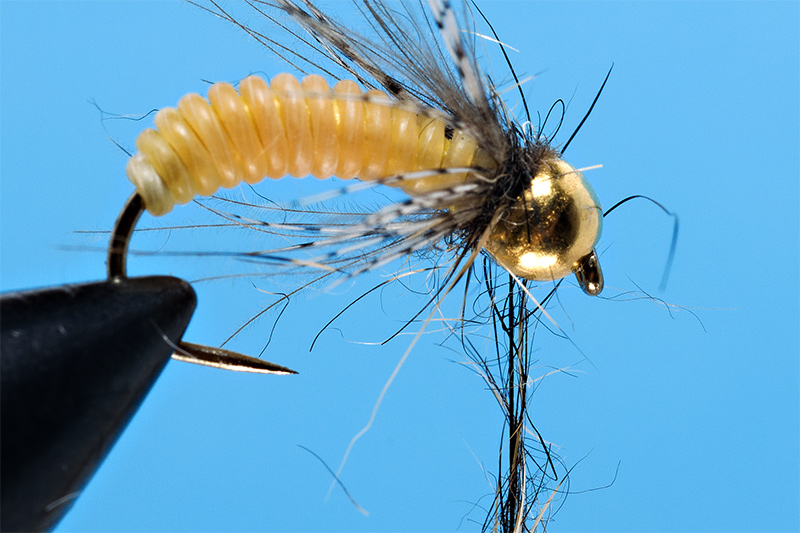
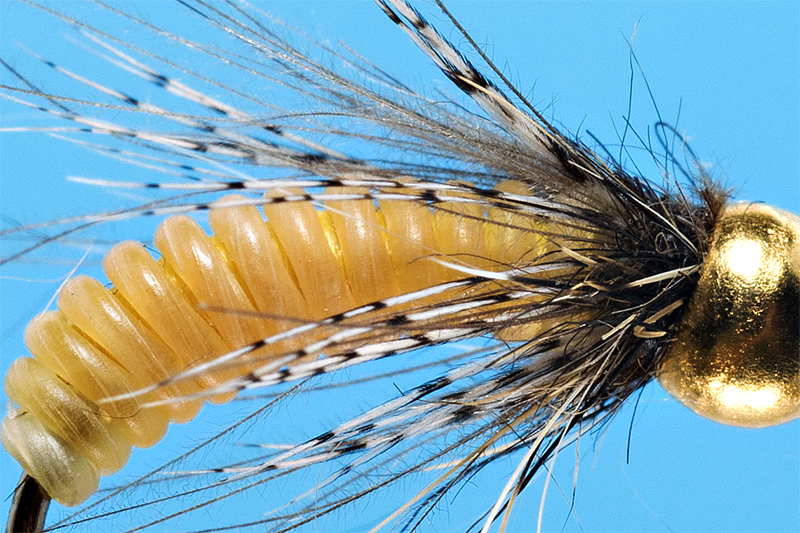
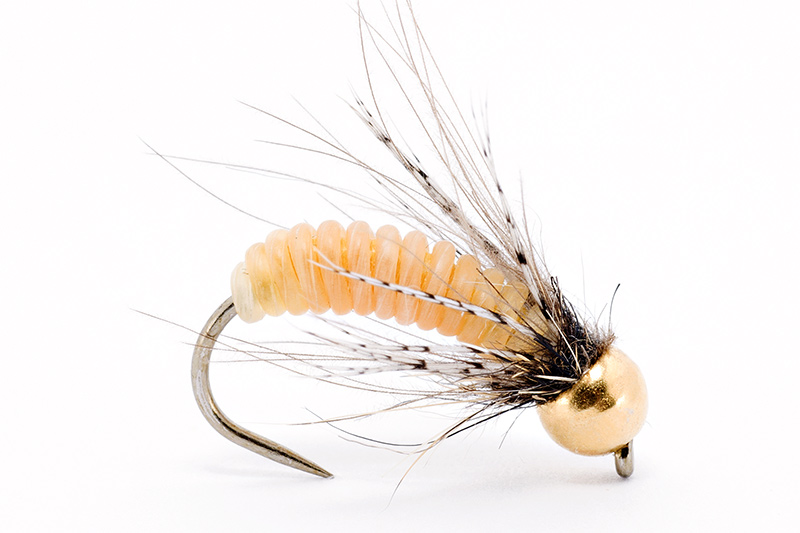
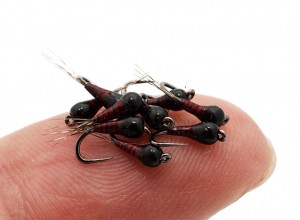
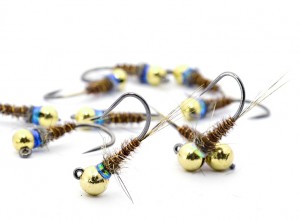
The final fly looks like this:
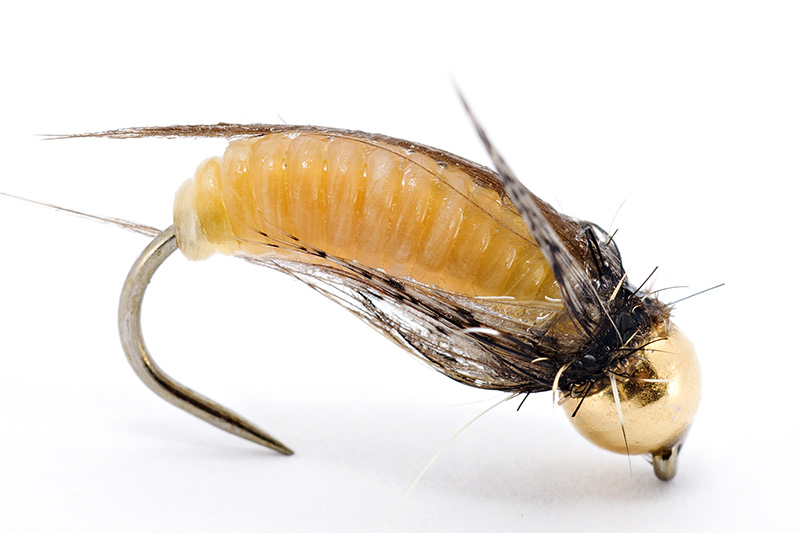
When gets wet look fabulous, the look is completely different and very realistic:
Have fun tying and fishing! 🙂
Lucian

July 22, 2016
Great!
July 23, 2016
thanks Dave 🙂
September 1, 2016
Thanks Lucian, I tied on a 18-room hook and caught roach!
September 2, 2016
cool fly, I knit work for us in Belarus